Although the development of so many different home delivery services has made it easier to get things delivered to your door, but nothing beats the experience of having freshly grown vegetables in the comfort of your own backyard.
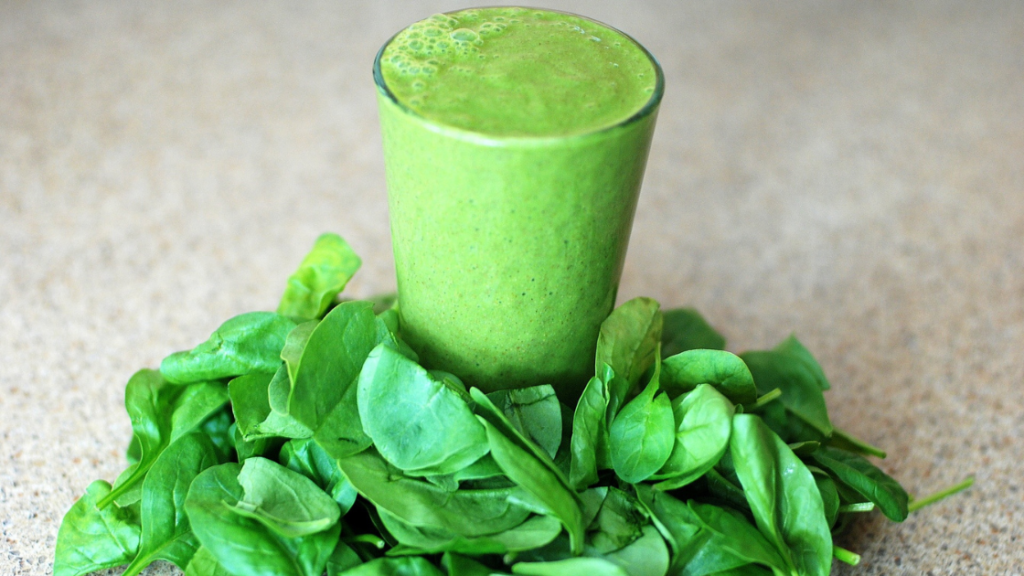
And how can our garden be complete without Growing Spinach from Seed ? Spinach is a classic leafy green vegetable high in iron, calcium, and vitamins A, B, and C. This is basically why it is so well-known all around the world. We’ll show you how to produce spinach at home in India in this article.
Spinach Nutritional Content:
Nutritional information
For 3.5 ounces (100 grammes) of raw spinach, the nutrition information is as follows:
- 23 Calories
- 91 % Water
- 2.9 g of protein
- 3.6 g Carbohydrates
- 0.4 g Sugar
- 2.2 g of Fibre
- 0.4 g Fat
The majority of the carbohydrates in spinach are fibre, which is quite healthful.
Sugar is present in spinach at modest levels, usually in the form of glucose and fructose.
Glucose: Spinach contains a lot of insoluble fibre, which can help your health in a variety of ways. As food passes through your digestive tract, it bulks up your faeces. This may aid in the prevention of constipation.

Growing Spinach from Seed: Basic Requirements


Spinach Kitchen Gardening
If you’re Growing Spinach from Seed on your balcony or in containers, the techniques below will work just as well:


Bolting is another prevalent concern with spinach plants, in addition to pests and diseases. Your spinach plants are bolting if they are going to seed. During the last phases of the growth process, this could be caused by a lack of water, too much sun, or too much heat. To prevent bolting, remove the plants as soon as possible; otherwise, the leaves will become bitter and inedible. Alternatively, you can let your spinach plants to flower, enjoy the lovely spring blooms, and save the seeds for the following season.

Growing anything at home needs the same level of attention as caring for your own items. It’s no different when it comes to growing spinach. You don’t want to put the seeds in the ground and then forget about them. At least once a day, pay your plants a visit.


Harvesting Spinach Leaves
Within 45 days, the majority of spinach leaves are ready to harvest. However, it may take up to 60 days in some circumstances. You’ll know your Spinach is ready to harvest when there are 5-6 fully developed leaves on each plant. Don’t put it off any longer. Harvest your crop within a week of the plants reaching maturity. These delectable leafy greens can be harvested in a variety of ways.
One method is to start from the exterior and chop your way inwards, towards the plant’s core, with a pair of scissors. When only a little amount of leaves is required, this method is usually selected. For example, feeding a household of four will necessitate roughly 60 spinach plants.
Another option is to take a pair of scissors and cut the entire plant off leaving an inch above the ground. This will encourage the plants to resprout, providing you with extra spinach to eat.
In any case, don’t let it too long after the crop has matured to harvest it, since the leaves may become bitter. Each time, we recommend utilising fresh leaves.
However, spinach will keep for 10-14 days in the refrigerator at a temperature of 5°C to 10°C if you wish to save it for later use. However, before keeping the leaves, make sure to properly wash them and remove any yellow leaves.
We hope that this post has been useful in assisting you in creating your own spinach garden at home. Please share the delectable dishes you’ve created with this delicious and nutritious leafy green vegetable.
Please let us know your feedback on this article on seed viability test in the comments👇
Recent Posts
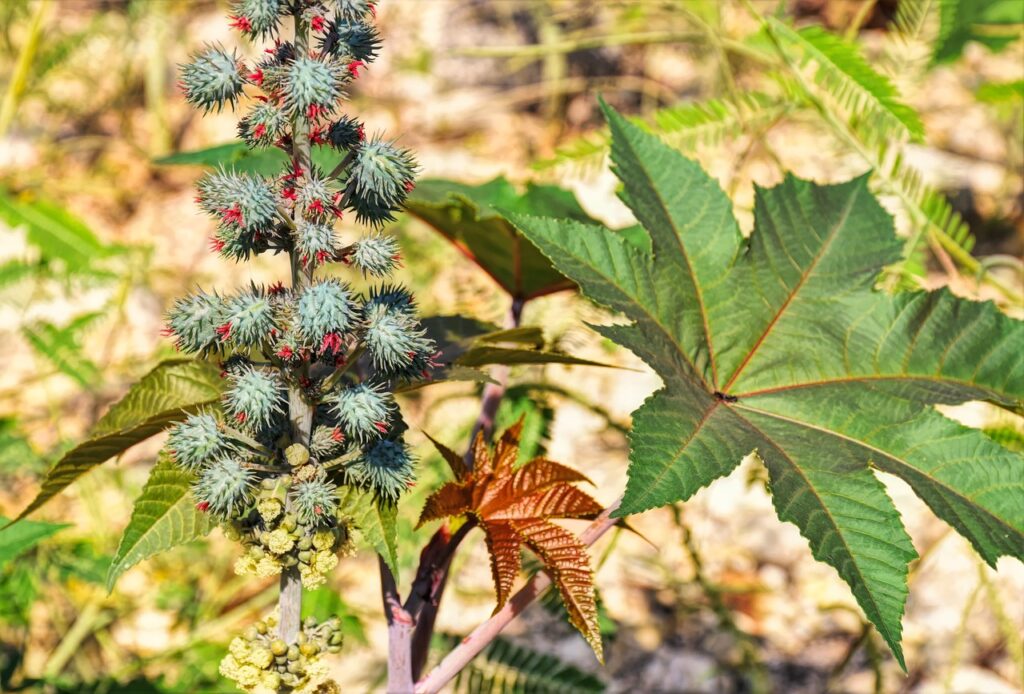
What are Castor Seeds? Benefits & Uses
Spread the loveCastor seeds, known scientifically as Ricinus communis, are a remarkable botanical wonder with a rich history and myriad uses across various cultures. Native to Africa and India, this plant has found its way into numerous facets of human life, from industry to traditional medicine. Let’s delve deeper into the world of castor seeds, […]
Diatomaceous Earth: Guide for Pest Control in Your Garden
Spread the loveUsing Diatomaceous Earth: A Comprehensive Guide for Pest Control in Your Garden Welcome to Rested Garden! Today, we’re delving into the versatile world of diatomaceous earth (DE), a natural and effective solution for managing pests in your garden. Whether you’re dealing with flea beetles on your eggplants or ants in your yard, DE […]
Using Diatomaceous Earth to Naturally Get Rid of Pests
Spread the loveWhat is Diatomaceous Earth? Diatomaceous earth is derived from the fossilized remains of aquatic organisms called diatoms. These tiny creatures leave behind a silica-rich substance that, when processed, forms a fine powder resembling flour. This powder works by physically disrupting the exoskeletons of insects, leading to their dehydration and eventual demise. Safety Precautions […]


